fitness trainer with 20 years of experience
“The head-down elbow stand, also known as Pincha Mayurasana in yoga, is not only an impressive skill but also an important exercise for developing strength, balance and concentration. This exercise has many benefits for the body and mind. Let’s take a look together at how to properly prepare for the pose, perform it, and avoid injuries and mistakes.”
What is important to know before mastering the pose?
Before starting to master the elbow stand, it is important to pay attention to the preparatory stages, namely strengthening muscles, developing balance and shoulder flexibility.
Shoulder training in the head-down elbowstand performs several key functions that are important for both beginners and experienced practitioners. The right exercises will help strengthen the shoulder girdle muscles, develop stability, flexibility and balance, which are important for safely and effectively performing inverted yoga poses.
Here are the top reasons why you should incorporate shoulder exercises into your elbow upside down elbow stand practice.
Strength development. Strong shoulders provide the necessary support to support your body weight in inverted poses. This helps reduce the risk of injury and increases the length of time you hold the pose. Strong muscles properly distribute body weight, reducing strain on the neck and spine.
Developing flexibility and range of motion. Regular training increases flexibility and range of motion in the shoulder joints, which is important for performing elbowstand and other inverted asanas. Shoulder flexibility reduces the risk of cramping and pain associated with restricted movement during practice.
Improved balance and coordination. Shoulder exercises in elbow stand require precise control of the musculature, which helps develop better coordination of movements. The ability to keep your balance in an inverted position requires developing an intuitive sense of balance, which is directly related to strength and stability in the shoulders.
How to strengthen the muscles of the cortex, abs and shoulders?
For these purposes, the plank exercise is excellent. There are several variations of execution, but we will consider the two most common.
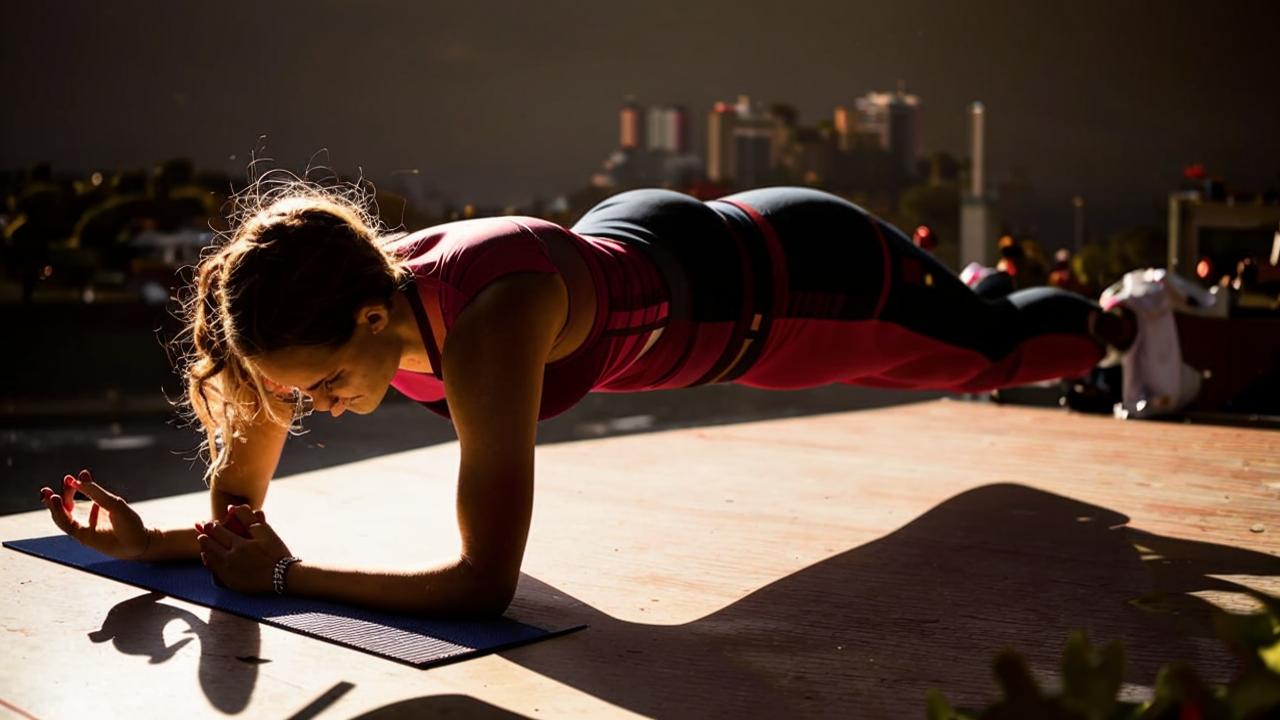
Classic plank
Execution technique
- Starting position is lying on your stomach. Place your palms on the floor strictly under your shoulders, with your fingers pointing forward.
- Tense the abs, rising on the toes of the legs and straight arms so that the body forms a straight line from the heels to the head. Avoid raising your hips too high or lowering them too low.
- Keep your head in a neutral position with your gaze directed at the floor in front of you. This will help avoid straining the neck muscles.
- Keep your breathing even and calm. Do not hold it, as proper breathing helps to better stabilize the cortical muscles.
- Aim to hold the plank for 20 seconds to one minute, gradually increasing the time as your fitness improves.
Side plank
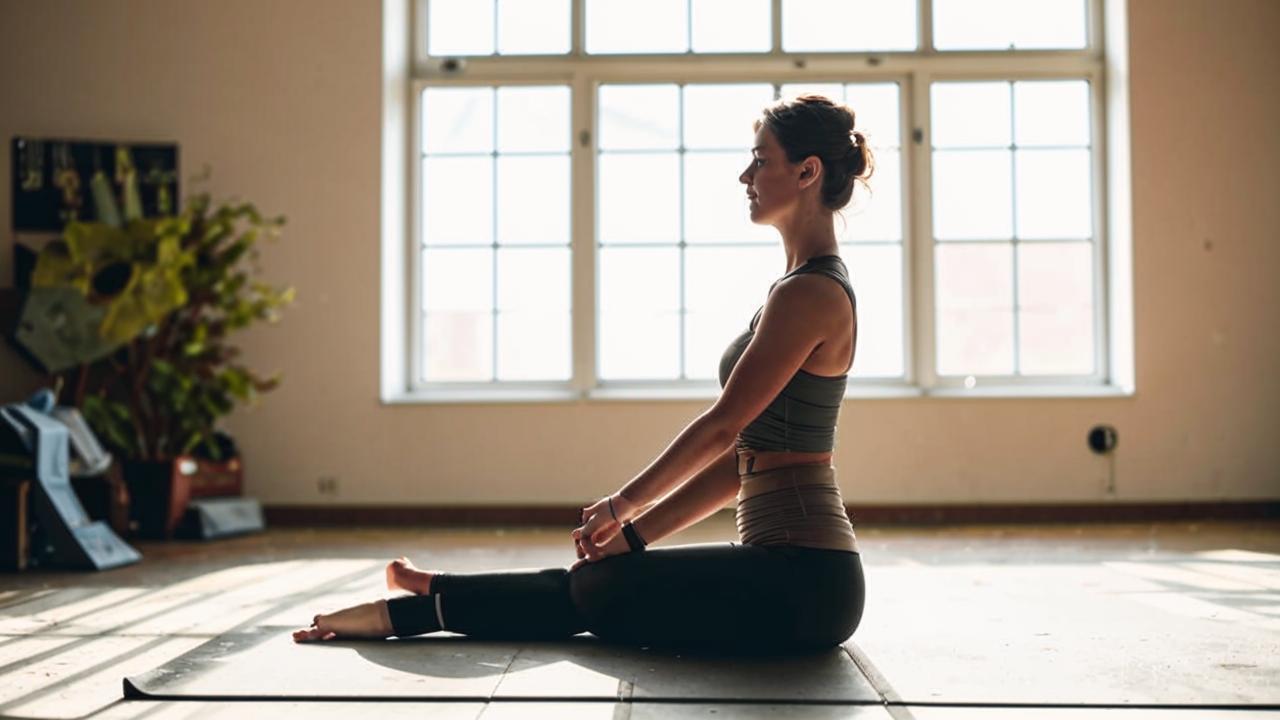
A powerful exercise to strengthen the lateral abs, cortical muscles, as well as to develop shoulder strength and improve overall balance.
Technique
- Starting position is lying on your side: lie on either side, resting on your forearm, which should be strictly under your shoulder.
- Legs should be extended and stacked together, one above the other. Lift your hips off the floor, resting on the edge of the foot and forearm. The body should form a straight line from head to heels.
- Shoulders, hips and legs should be aligned. The upper arm can be extended upward perpendicular to the body or placed at the side for added stabilization.
- Keep your torso tense and breathe evenly. Focus on keeping your abdominal muscles tight, this will help maintain balance and increase the effectiveness of the exercise.
- Aim to hold the position for 20 seconds to one minute, gradually increasing the time with practice.
- Gently lower yourself to the floor, roll over to the other side and repeat the exercise.
Push-ups
Technique
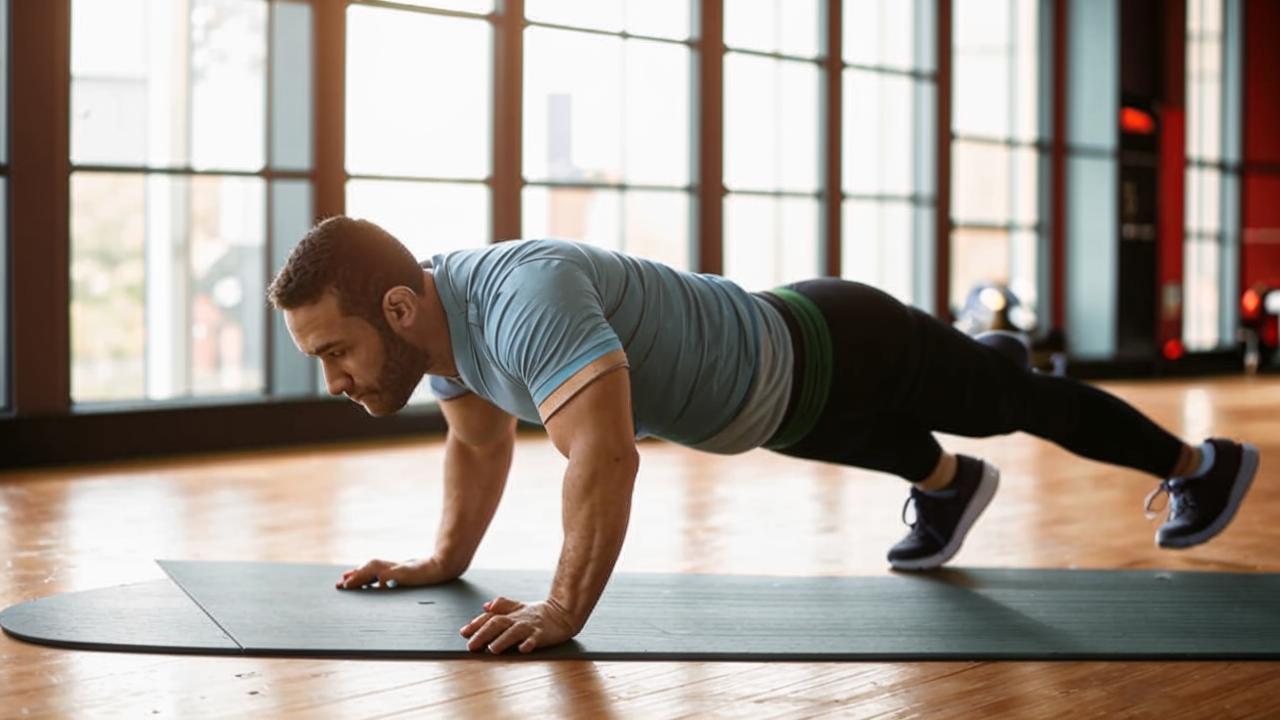
- Lie face down on the floor with your palms shoulder-width apart or slightly wider. Arms should be straight. Your legs are also straightened and stand together, with your feet on your toes.
- Your body should form a straight line from head to heels. Tighten your bark muscles to prevent your hips from sagging or bulging.
- Slowly bend your arms at the elbows, lowering your body down until your chest or chin almost touches the floor.
- Your elbows should be pointing backward at about a 45-degree angle from your body.
- Tensing your chest and arm muscles, raise your body back up to the starting position, fully straightening your arms. Keep your body straight and your cortex muscles tense throughout the entire movement.
- Inhale on the descent and exhale on the ascent. Proper breathing will help focus your efforts and improve circulation.
- Start with 10 push-ups and gradually increase the number.
How to strengthen your wrists?
Pay attention to strengthening your wrists. The hands and forearms are often a weak point when mastering elbow racks, as the joint between them is prone to injury. To prevent risks, warm up the wrist joints thoroughly before performing the rack.
- Take dumbbells weighing one pound, stretch your arms out in front of you, palms facing down. Start with smooth, and then move to more vigorous extensions of the arms in the hands. Perform at least 30 such movements.
- Turn your hands palms up into a supination position. Perform hand flexions following the same technique.
- Perform circular movements of the hands, do it smoothly, avoiding sudden movements. At least 50 repetitions.
- Put the dumbbells aside and put your other hand around one forearm, rub it intensively with circular movements, giving each hand two minutes.
- Fold your hands “in a lock”, intertwine your fingers and rotate your hands for a minute in each direction.
Do these exercises regularly to avoid hurting yourself during elbowstands.
Preparatory exercise
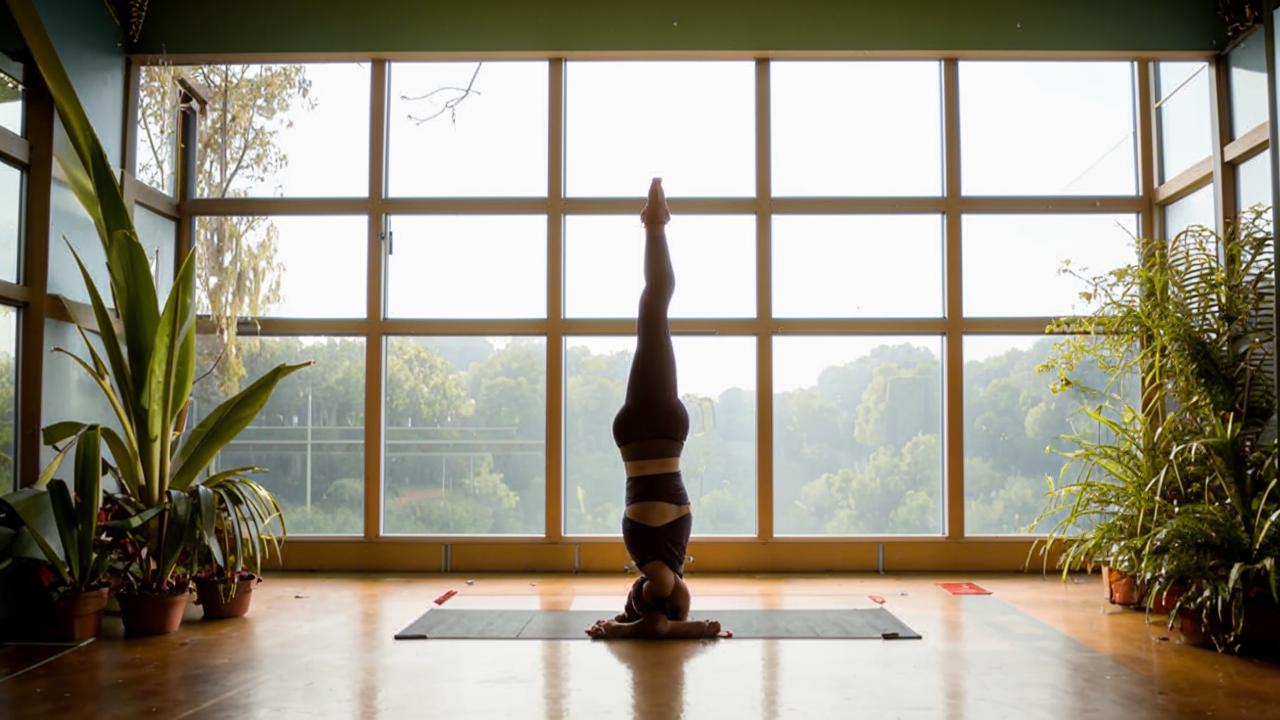
Shirshasana
Execution Technique
- Kneel on your knees and place your elbows on the floor. Place your palms on top of your head, intertwining your fingers in a lock, and spread your elbows apart.
- Lean forward, touching the floor with your forearms and head, with the point of the floor touching slightly above your forehead.
- Ensure your neck is well extended and your shoulders are aiming towards your pelvis. Straighten your legs, stand on your toes and get as close to your hands and head as possible, aiming to lift your pelvis above your head and keep your spine straight.
- When your feet are as close to your head as possible and you feel that most of your body weight is distributed on your forearms, gently lift one leg off the floor, bending it at the knee, and try to bring your knee to your chest and your heel to your buttock. This will increase the load on your arms.
- Lower the raised leg back to the floor and repeat the same movement with the other leg. Avoid lifting your leg straight up and swinging it sharply, as this can create inertia that will pull you backwards and cause you to fall.
- Alternating legs, continue doing the exercise until you feel confident that you can bend both legs and draw them toward your abdomen. In this position, the heels tend toward the buttocks and the pelvis is directly overhead. This represents the beginning stage of the headstand.
- This pose promotes balance, transfers most of your weight to your hands, keeps your shoulders, pelvis and neck in the correct position, and helps to stretch your spine.
- Do not rush to straighten your legs, stay in the bent leg position until you feel confident in your balance.
- Then begin to gently lift your legs up. First, move your hips away from your stomach, keeping them parallel to the floor or slightly higher.
- Gradually straighten your legs, reducing the angle at the knees, and raise them until they form a straight line with your body.
- Press your forearms into the floor, trying to bring your shoulders closer to your pelvis, retract your abdomen and pelvis, and pull your toes up.
Try to hold shirshasana for 30 seconds. Over time you will be able to increase the duration of the stand to 1-3 minutes.

Elbowstand technique
After you have confidently mastered the headstand, you can move on to learning the elbowstand. The technique of performing this asana is similar to the previous one, only the initial position changes.
Execution technique
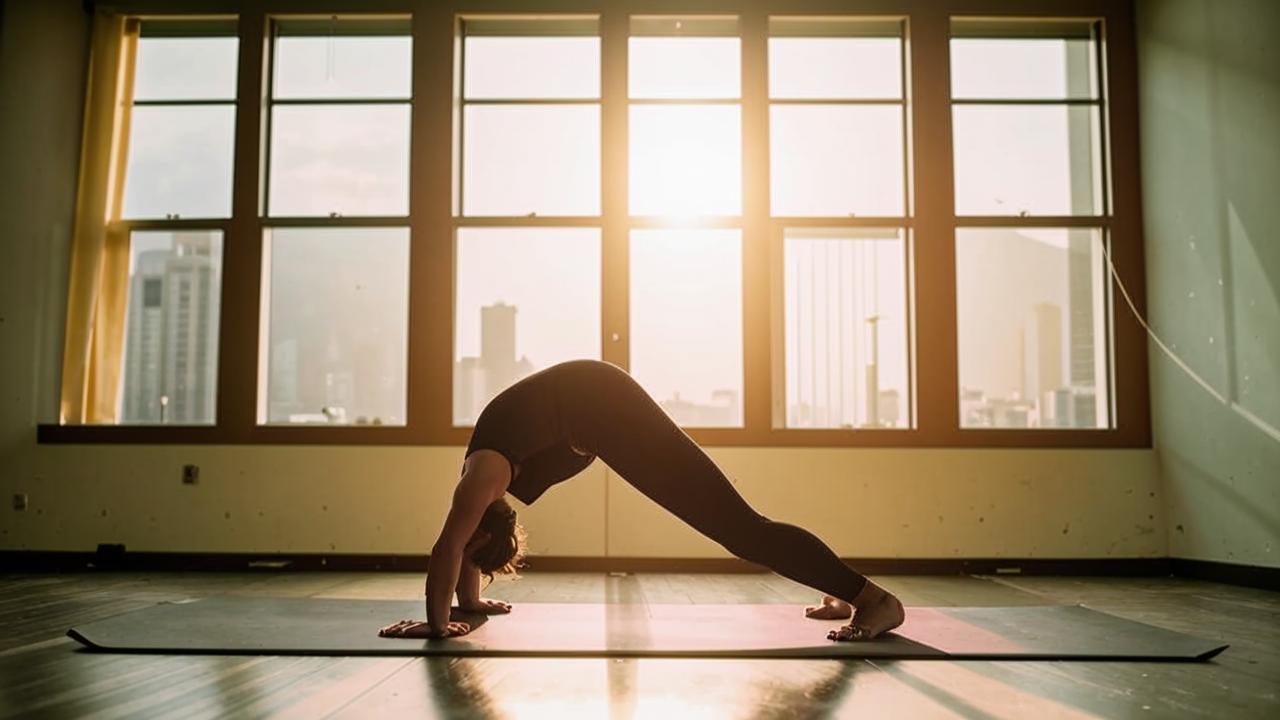
- Starting position is standing on all fours. Place your elbows in front of you so that your forearms are parallel to each other and your fingers are widely spread.
- Straighten your legs and place them on your toes, trying to stretch your pelvis upwards.
- If you are confident in the headstand, lift your toes off the floor and gradually raise your pelvis and hips to an upright position.
- If you find headstand difficult, we recommend that you first master this asana and only then move on to elbowstand. We have described the preparatory steps for mastering the inverted balance pose above.
Important! Upside-down yoga poses are difficult to perform. We recommend mastering them under the supervision of an experienced instructor to avoid falls and injuries.
Benefits
- The rush of blood to the head renews brain cells and increases thinking activity.
- Blood flow to the pituitary gland and epiphysis in the brain affects physical and mental well-being.
- The hormonal balance is restored.
- Reduces pressure on the venous vessels, which is useful in varicose veins.
- Starts rejuvenation processes, changing the flow of energy in the body.
- The body is cleansed of toxins, activating the lymphatic system.
- Improves metabolism.
- Positively affects women’s health, normalizing the menstrual cycle.
- Activates the parasympathetic nervous system involved in relaxation and self-regulation.
- Relieves nervous tension, stress and anxiety.
- Improves lung function.
- Helps to cope with fatigue and insomnia.
Contraindications
- High blood pressure.
- Diseases of the cardiovascular system.
- Diseases of the shoulder and elbow joints.

Mastering the head-down elbow stand is not only about an impressive physical accomplishment, but also a journey of self-discovery, confidence and patience. Remember that every practice brings you closer to your goal, every fall teaches you how to get up, and every attempt makes you a master of your body and mind. Give yourself time, appreciate your progress, and savor every moment along the way.
Elbow-over-elbow headstand is not only a demonstration of strength and balance, but also a sign that you are capable of reaching heights you could only dream of before. Keep practicing, keep a positive attitude, and you are sure to achieve what you want, opening new horizons of possibilities for yourself.

