A tie is an essential element of a man’s closet. This accessory gives an elegant and sophisticated look. However, many men avoid wearing it. There are different reasons, but the most popular one is misunderstanding and inability to tie a tie correctly.
A crooked or sloppy look can seriously spoil the image. Therefore, it is important for every man to learn how to create the perfect knot. You can start with the easiest ways and gradually build up your skill. In this will help a detailed stylist’s instruction with eight different ways of tying a tie.

expert on men’s and women’s style, stylist-image-maker
“A man’s tie is the kind of accessory that never goes out of fashion. It is able to add character to the image as a whole. Today’s trend towards versatility has slightly reduced the demand for ties. More often they are worn by employees of companies with a strict fixed dress code. Also designers regularly show ties in their collections”.
How to choose a tie?
Unambiguously – this is the accessory that is always relevant and shown in different variations of wearing: tied on a weak knot, wrapped around the neck, standard and so on.
If we talk about the classic reading of the tie, then here it is important to take into account a lot of details when choosing it. Color, material, print (if any), width, knot, length. All these seemingly unimportant details can both emphasize and detract from your status. Let’s take a closer look at a few important nuances that are important to consider when choosing.
One of the frequent mistakes is that men leave too little length of the tie. So, the bottom corner should reach the upper edge of the belt. If it is significantly higher or lower – this is a mistake. It will spoil even the most expensive and status image. It is also important that the width corresponds to the lapel of the jacket. Narrow ties are more suitable for students. And wide will be proportional to large men. The optimal size of the tie is 7-10 cm.

In addition, when choosing it is important to take into account the original purpose. That is, for what occasions it is purchased? Ties for a business suit and for images in casual style will differ significantly. For example, the first options have a smooth, slightly glossy texture. Casual can be knitted, knitted and so on.
If we are talking about a business image, then here it is important to take into account the color of the tie. It directly demonstrates to the interlocutor your intentions and mood. How to choose it?
Blue is the color of business. It speaks of reliability and stable emotional state of a person. Blue with a pearlescent cast is an inner feeling of victory and diligence.
Red and burgundy shades are preferred by politicians. This is the color of power, as well as persistence and aggression. Darker shades help to establish trusting relationships.
Green color speaks of persistence and desire for high profits. Yellow is the color of restlessness and adventurism. Black – the color of restraint and mystery.
Ways of tying a tie
An important element is how the knot is tied. According to statistics, 53% of Russians do not know how to tie a tie, while 36% of them do. 11% admitted that they have never tried it.
If this is your first time tying a tie, I recommend practicing in front of a mirror. Then, when you understand the principle and learn, you won’t need it. Also, it is important to iron the tie thoroughly to make sure the knot is even. Try tying the simplest schemes first. Further, if desired, you will improve the skill.
Today there are many different ways to tie a tie. Consider the most popular and uncomplicated.
Simple knot
This is the simplest knot with which you can get acquainted with ties. It does not require a lot of turns and is considered one of the most elegant.
- Wrap the tie around your neck. The wide part should stay on the right side. And its edge should be below the narrow one.
- Pass the wide end over the narrow end with your right hand.
- Now pass the wide end under the narrow end. Pass it up through the loop around the neck. Then pass it down.
- Pass the wide end through the loop on the narrow one you just formed.
- Pull down and adjust the knot until it is neat and even.
- Make sure the wide end of the tie hangs just below the belt buckle.
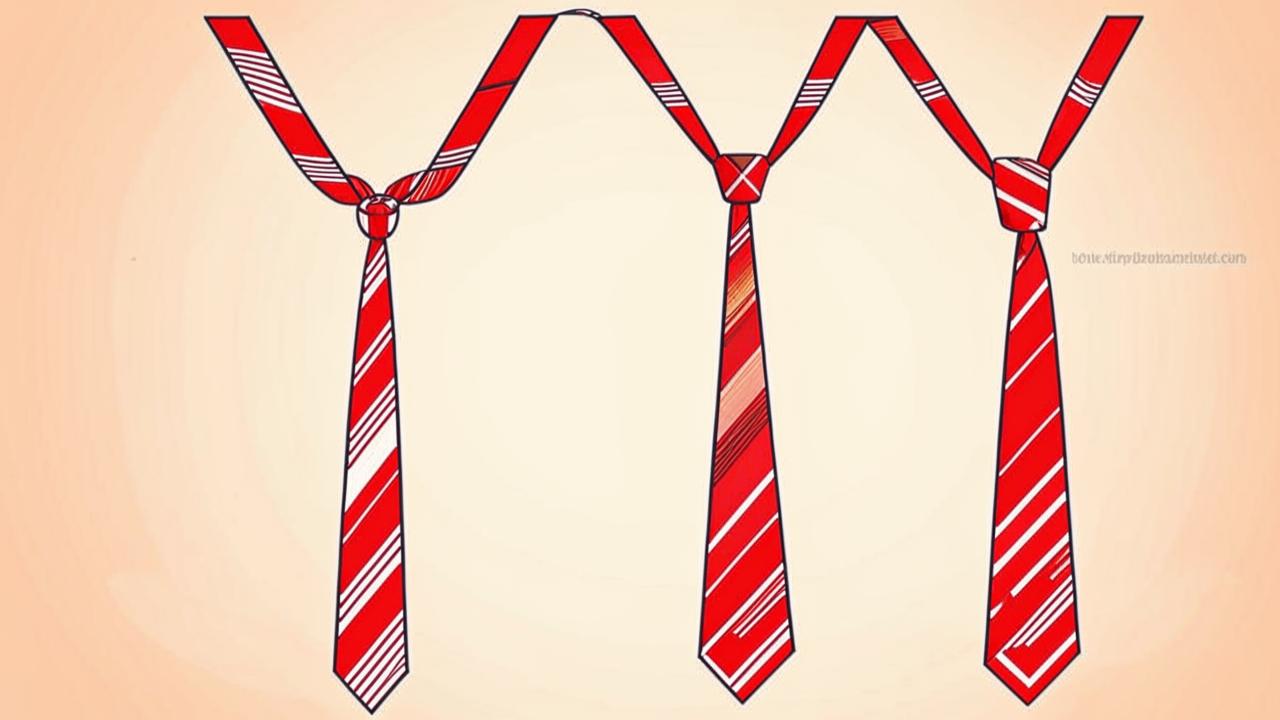
Instructions for a simple knot
Fourth knot
It is considered universal and goes with any suit and shirt. Let’s understand how to tie it perfectly.
- Place the tie around your neck so that the wide end is on the right side. It should be lower than the narrow one by about 30 centimeters.
- Slip it over the narrow one with your right hand just under the collar.
- Wrap the wide edge around the narrow edge, continuing to the left side. It should end up in the front.
- Lift up the wide end. Now pull it up through the loop around the neck. Move from the bottom to the top.
- Thread the wide end through the resulting loop in the front.
- Smoothly tighten and straighten the tie until it is neat.
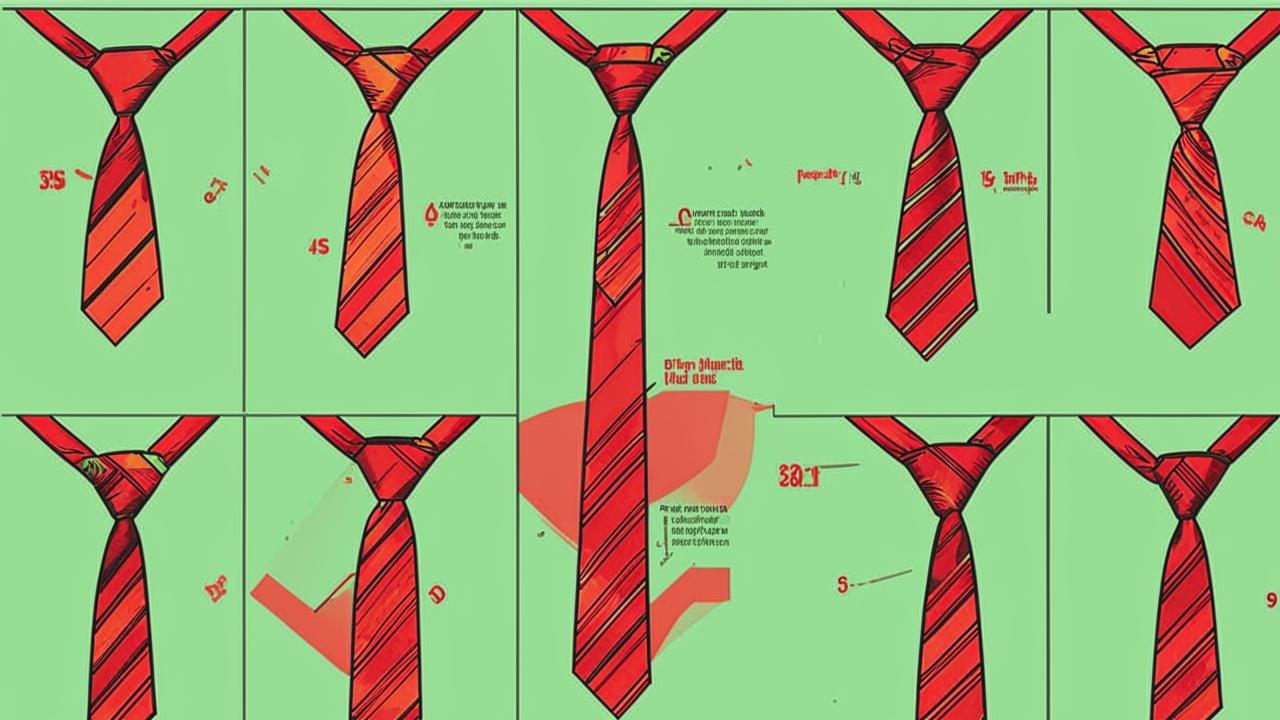
Instructions for the quadruple knot
Windsor knot
This knot is named after the Duke of Windsor and is known for its symmetrical, voluminous shape. It is perfect for classic looks, formal events and wide collars.
- Button your shirt all the buttons and raise the collar.
- Hang the tie around your neck. The wide end should hang to the right. Check that it is 30 cm lower than the narrow end.
- Pass the wide end over the lower end. You will get an irregular letter “x”.
- Pass the wide end of the tie first under the narrow end near the neck. Then through the loop outward. When you pass the wide end, it should hang to the right again.
- Pass the wide end under the narrow end near your stomach. Then – over the narrow end near the neck inside the loop. Now it should hang to the right again, but with the wrong side facing out.
- Pass the wide end over the narrow end to the right again.
- Repeat step #3. Make an “X.”
- The wide end of the tie should form a sort of knot wrapped around the narrow end. The final touches are left.
- Pass the wide end first under the narrow end at the neck in an outward loop. Then through this knot. Pull the wide end downward.
- Using both hands, carefully tighten and straighten the tie. The knot should be a short distance below the collar, about 2.5 cm.
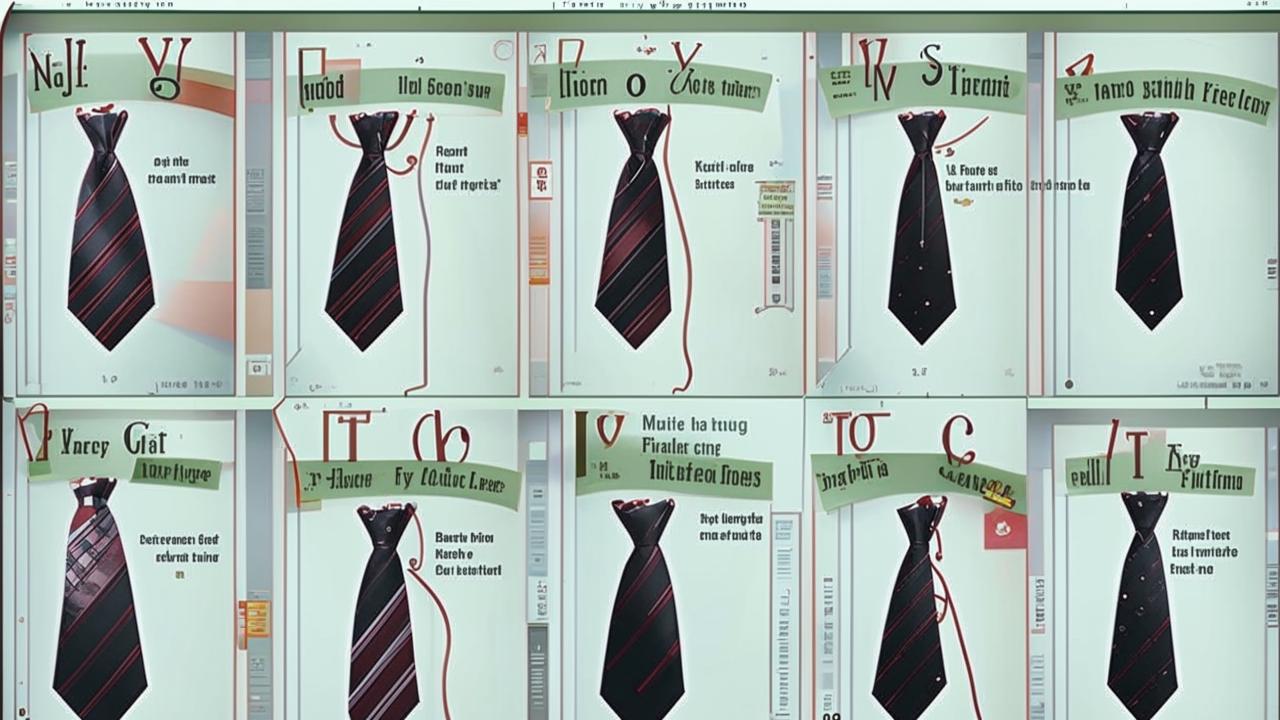
Instructions for the Windsor knot
Double knot
This method is also known as the “Prince Albert” and “Victoria” knot. It adds a little more volume and length to your tie. Also, this knot is suitable for most events and looks great with both narrow and wide collars. So how do you tie it?
- Place the tie around your neck so that the wide end is on the right side. It should be below the narrow one.
- Now you need to make a simple knot. Throw the wide end over the narrow end. Then repeat this action one more time. You should get two complete turns around the narrow end.
- After that, thread the wide end up through the loop around the neck from the bottom to the top.
- Now thread it through the front of the knot you just formed. Then gently tighten it, pulling the tie up to the collar and shaping it at the same time.
- Adjust the knot so that it is neat and symmetrical.
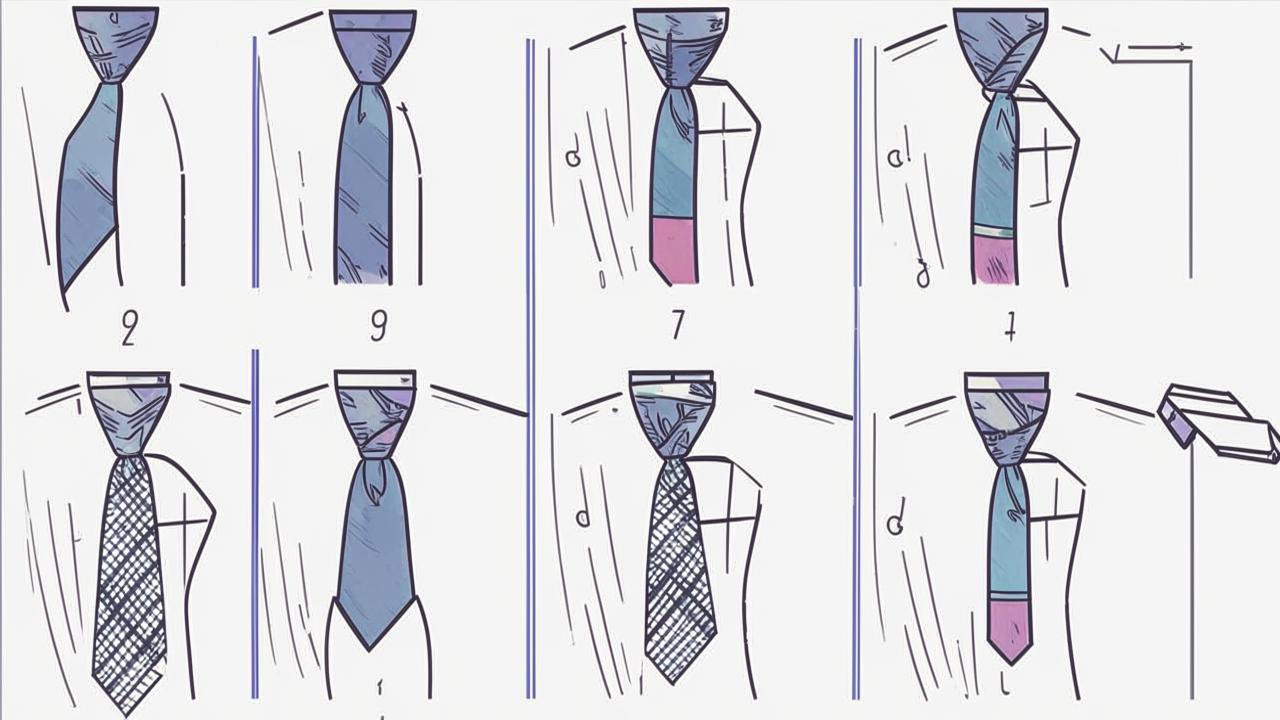
Instructions for the double knot
Shelby Knot
This is an interesting knot that suits different clothing styles. It goes perfectly with shirts with narrow and medium collars. This knot differs from others in that it starts from the “back” side. The process of tying it is unusual, but the result is worth it.
- Place the tie around your neck so that the wrong side of the tie is facing outward. The wide end should be on the right and the narrow end on the left. The first one should also be lower by 30 cm.
- Fold the wide edge under the narrow edge, creating an “X” just under the collar. It is important that this is done with the front of the tie facing your body.
- Lift up the wide end and thread it through the resulting loop around your neck. It will then be facing you again.
- Then pass the wide end of the tie under the narrow end from left to right. Remember to keep the front side facing you.
- Pick up the wide end of the tie again and thread it through the loop around your neck. The final step remains. Pull the wide end down through the loop you just formed.
- Gently tighten and straighten the tie until the knot has a neat and symmetrical shape. Adjust it so that it sits snugly against the collar.
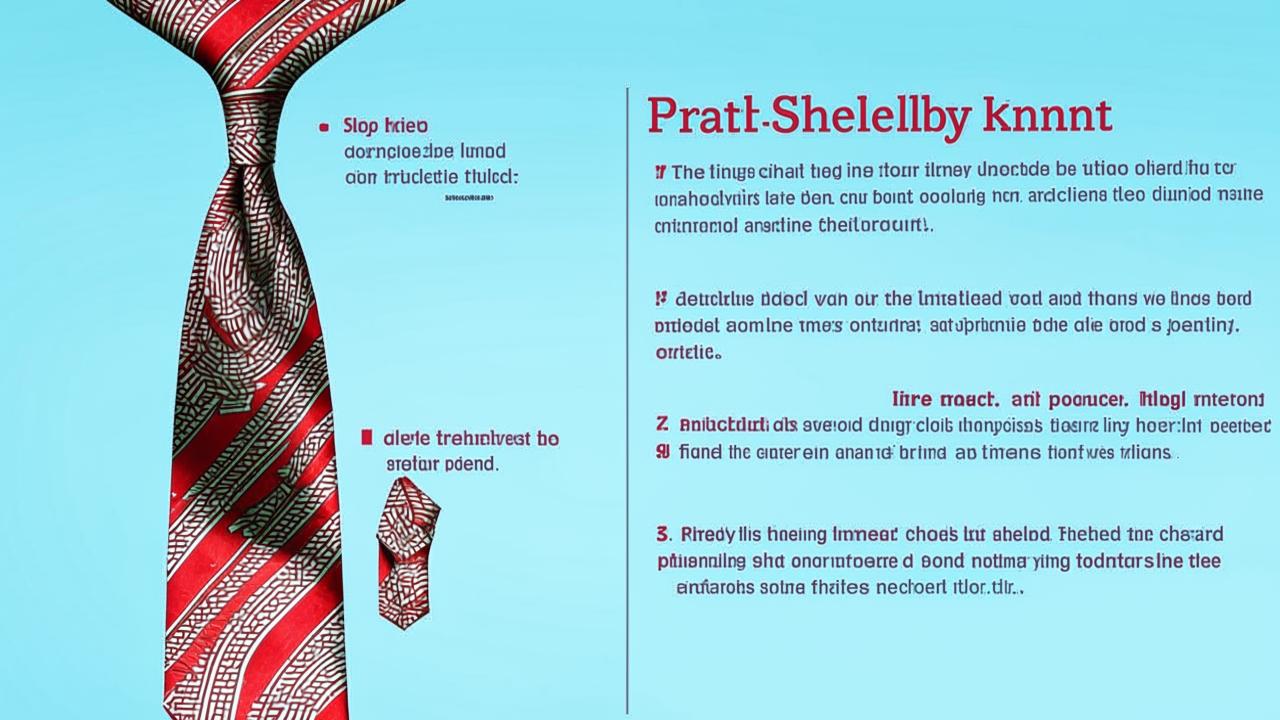
Instructions for the Shelby knot
Van Wijk knot
This is a little known but elegant way of tying a tie. It is best suited for medium thickness ties. It is similar to a doubled simple knot, but thanks to the extra turns it looks more voluminous. How to tie a Van Wyk?
- Put on a shirt and raise the collar. Place the tie around your neck so that the wide end is to the right and well below the narrow end. This knot may require more tie length than usual.
- Slip the wide end over the narrow end to form a simple knot. Keep it relaxed to leave enough room for the next steps.
- Wrap the wide edge of the tie around the narrow one again, continuing in the same direction. Make the turns carefully so as not to create unnecessary folds.
- Thread the wide end through the knot around the neck from bottom to top on the right side. Then pull it down through the resulting loop at the front.
- Gently tighten the knot. Try to achieve volume and symmetry.
- Adjust the tie so that it is evenly and neatly positioned under the shirt collar.
Clear instructions can be found HERE.
The Cavendish Knot
This is an elegant and relatively easy to perform knot, which is characterized by symmetry and moderate volume. For it, it is better to use a tie of medium thickness. The accessory can be worn with most collar styles. But the main thing is to tie the Cavendish knot neatly.
- Put on your shirt and raise the collar. Place the tie around your neck so that the wide end is to the right and below the narrow end. Leave about 30 centimeters as well.
- Pass the wide end over the narrow end. You should form an “X” just below the collar. The wide end is now on the left. This is important.
- Thread the wide end of the tie under the narrow end and pull it up. Then through the loop around your neck.
- Next, pass the wide end to the right, wrap it around the narrow end, pointing to the left. Thread it once more through the loop around the neck.
- The final touch remains. Thread the wide end through the front of the knot you just formed. Gently tighten it, creating a nice symmetrical shape.
- Tighten the knot so that it sits snugly against the collar. Make sure the tie hangs straight and neat.
Clear instructions can be found HERE.

The Nikki Knot
Characterized by its symmetrical shape, it is a good choice for most men. The Nikki knot is suitable for ties in different fabrics and can be used in different looks.
- Put on a shirt and raise the collar. Place the tie around your neck so that the wide end is on the right side and is below the narrow end by the desired length. Leave about 30 cm again.
- Pass the wide end over the narrow end, forming a simple knot under the collar. The first one should now be on the left. Great, moving on.
- Thread the wide end of the tie under the narrow end on the left side. Now bring it up.
- Pass the wide end through the loop around the neck from top to bottom. Loop it from right to left around the narrow end. Then thread it through the loop around the neck again.
- Thread the wide end through the front of the knot. Gently tighten it, pulling it up to the collar.
- Adjust the knot so that it is neat and symmetrical. Be sure to make sure that the length of the tie appears to be the right length.
Clear instructions can be found HERE.
How do I care for my tie?
Proper care at home is a guarantee that the accessory will serve you for a long time without losing its look. Quality ties can withstand the test of time, but improper care can lead to loss of color, deformation and even deterioration of the fabric. The importance of regular and correct care for this element of the closet can hardly be overestimated.
How to effectively care for ties at home, so that they always look flawless and serve you for many years?

Firstly, they should be stored untied in a hanging or lying position. Secondly, it is not recommended to wash ties in a washing machine. It is better to choose hand washing in warm soapy water. Also avoid strong mechanical impact on the tie. Do not rub it hard when washing, wring out and twist it.
If you accidentally put a stain on the tie, it is better to carefully mop it up with a weak soap solution. But suddenly the pollution is serious? The following remedy can help: alcohol and water (proportion 1:1), salt, lemon juice, powder from grease stains.
Ironing a tie is also necessary with special care. Heat the iron so that the temperature is below the temperature indicated on the label. It is desirable to iron through wet gauze in one direction from beginning to end.


