Vodja usposabljanja učiteljev in višji trener mreže baletnih in razteznih studiev LEVITA
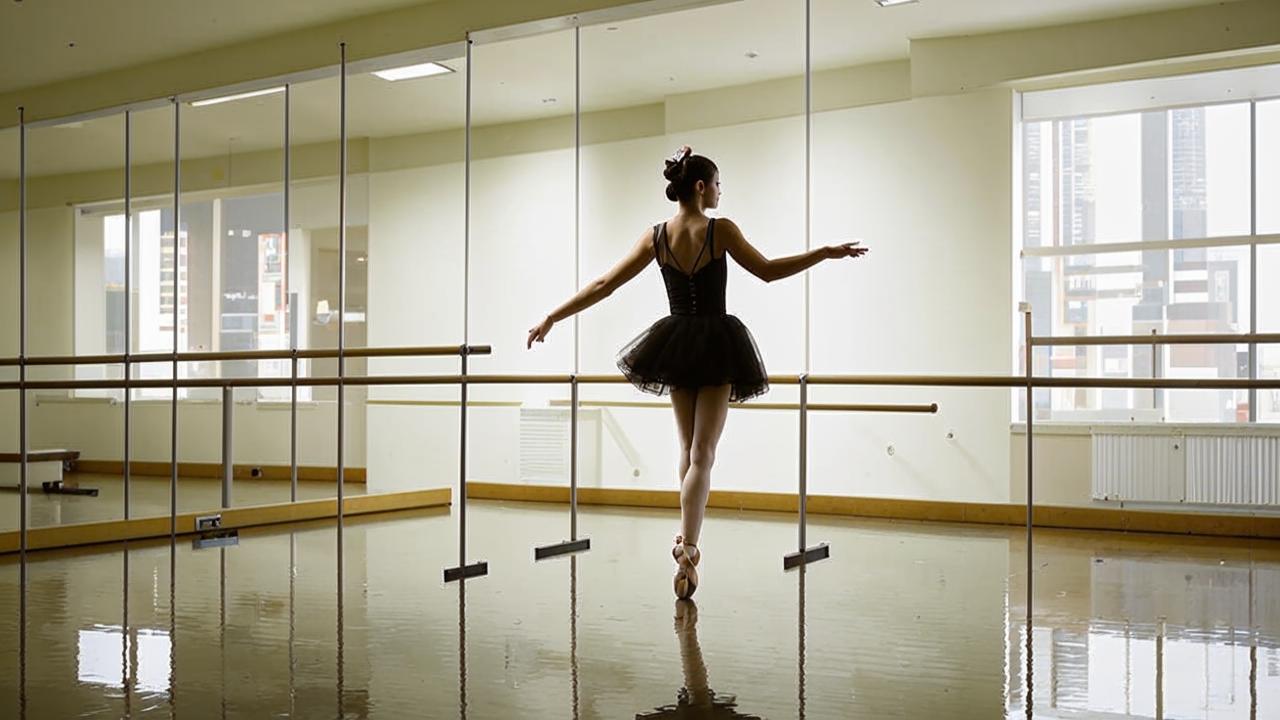
“Barre is a combination of ballet exercises with elements of functional strength training, Pilates and yoga. The symbiosis of different approaches helps to evenly distribute the load on the body in the morning hours to make the exercise productive and effective. Getting energized and positive for the day with barre exercises is easy and beneficial.”
Usually, morning exercise is not a vigorous workout, but a relaxed process to warm up and wake up the body. Therefore, it is important to feel comfortable with each exercise and not to overload the muscles.
The optimal number of repetitions varies from 8 to 16 times. If you feel that you are ready to move from charging to the format of a mini-workout, you can increase the number of repetitions. The main thing is to listen to how you feel and avoid discomfort.
Cervical warm-up
Morning exercises always involve warming up the whole body, starting with the head and ending with the feet. Therefore, start by warming up the cervical region. You need to perform simple movements: tilts and rolls of the head to the right, left, down and up.
In the process of tilting, it is important to carefully monitor the amplitude of movements: you should not tilt your head back, you only need to slightly pull your chin up and stretch the cervical region. When you are done with the tilts, fix your head in a forward tilt position. Then proceed to rolls to the right and left. To do this, gently lead the chin of the head to one side and fix in this position for a couple of seconds. Then return to the starting position and repeat the movement to the other side. In this part of the exercise also carefully watch your sensations and body reaction to the movements.
If desired, this exercise can be modernized: change the order of actions, the number of repetitions, increase or decrease the amplitude of movements. The main thing is to focus on the body’s capabilities and your comfort.
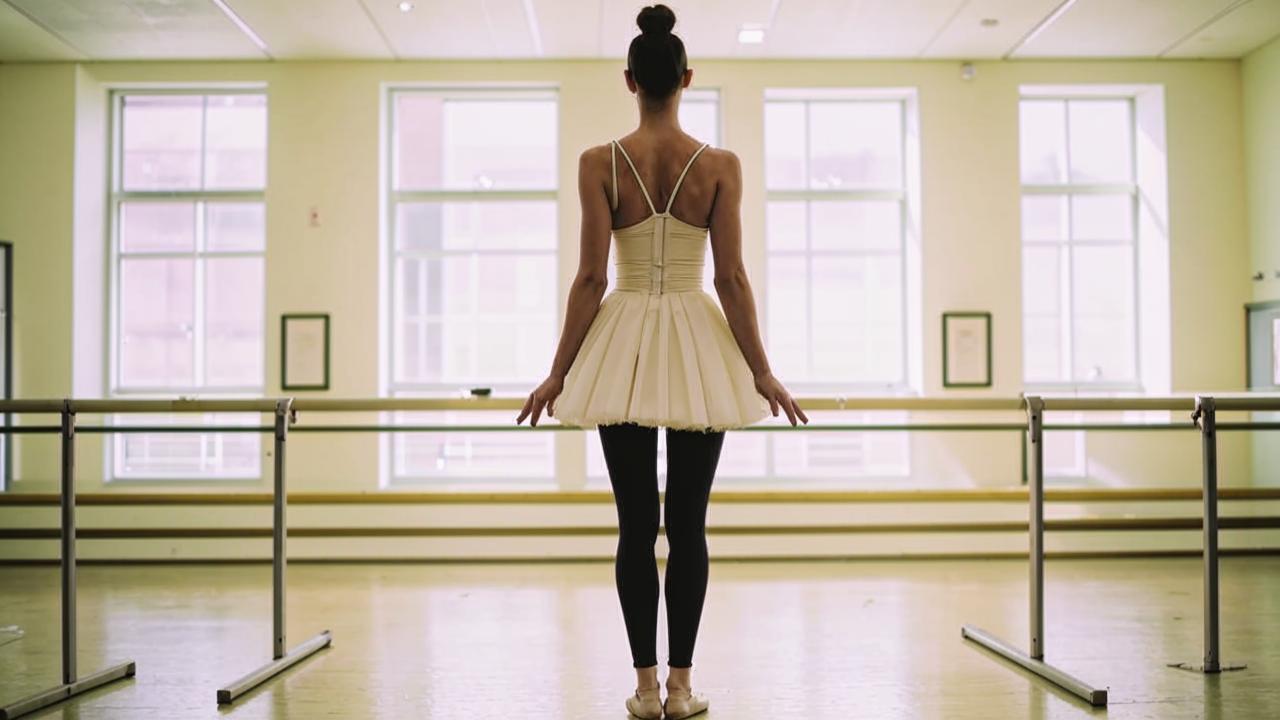
Tilts of the body and work with the arms
After warming up the cervical region, go lower, start tilting the body and connect the work of the arms.
- Starting position: arms out to the sides, feet either parallel to each other or in the first position (heels together, toes apart). Legs and abdominal muscles are tightened, back is flat, and the top of the head “stretches” to the ceiling. From this position, begin to perform bends.
- The speed of your movements should be slow enough. First, bend to the right, with the right arm lowered towards the floor and the left arm extended upwards. Slowly return the body to the starting position and repeat the movement to the left side.
- Important: the character of the movements themselves should not be sharp, but smooth, so that you can fully feel the tension in the muscles, but not pain. Watch your hands, their muscles should also be included in the work.

After bending to the sides, proceed to bending forward.
- Bring the body back to the starting position, straighten your back and start leaning forward smoothly. Strive for the ideal position – a 90-degree bend.
- If you feel discomfort in the process, stop at the level where you manage to maintain a flat back.
- Your arms are stretched forward above your head, your muscles are tense, and your abdomen is taut. In this position, start gently moving your body to the right, then return to the starting position and repeat the same movement to the left side.
- Pomembno: watch the position of the hips, they must be immobile. During the exercise only the body works.
For the most effective warm-up of the body, you can additionally stay in the forward bend position for 30 seconds. After that, relax, lower yourself, round your back and slowly lift the body up.
Move on to working with your arms. This exercise is great for strengthening the shoulder joint and arms in general.
First, to warm up your arms, you need to make a few rotational movements with your wrist, elbow and shoulder joints. Then you can switch to springing movements and swings.
- Starting position: arms stretched out to the sides, palms facing the floor. In this position, perform springing movements up and down to create tension in the muscles and feel their strength.
- After that, move your arms to a position above your head and start doing downward swings.
- This part of the exercise should also be done with a feeling of strength and tension in the muscles, the movements are performed at an active pace.
The final part of the warm-up is rotation of the hands.
- Starting position: arms stretched out to the sides, palms facing the floor.
- In this position, start turning your palms upward as much as possible, and then in the opposite direction.
- In the process, you will feel quite unusual, but useful sensations in the shoulder joint.
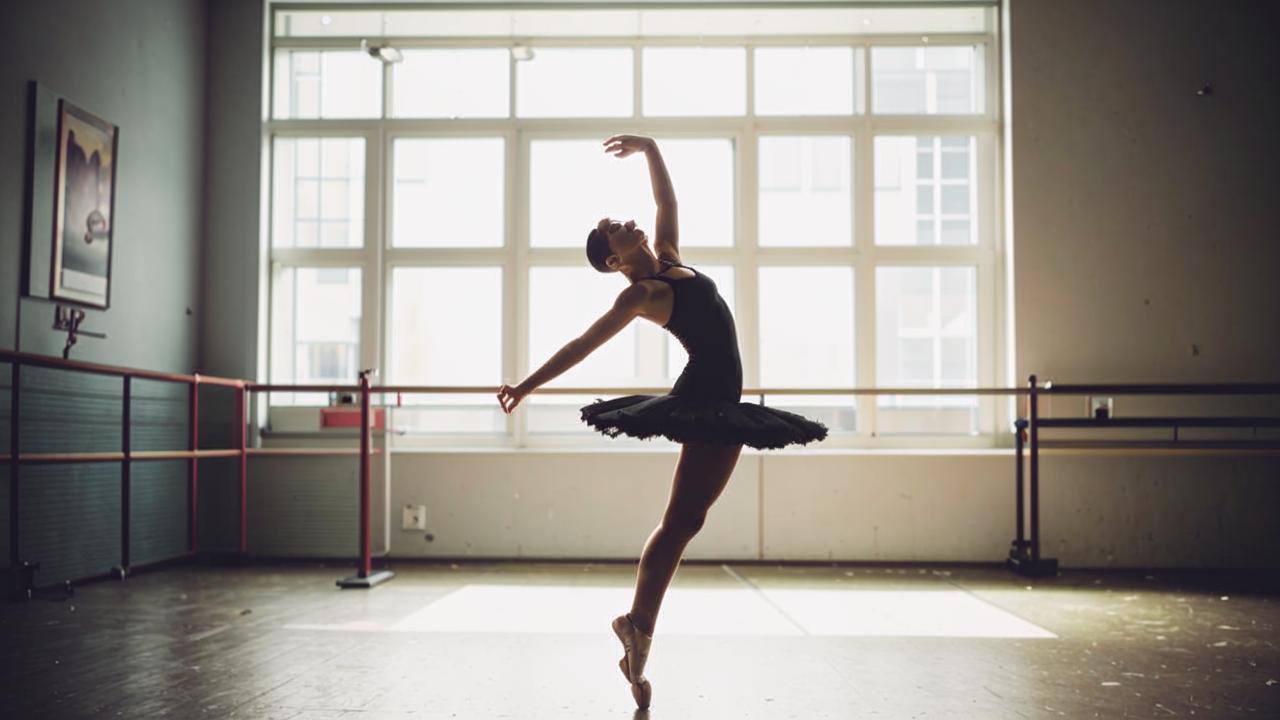
Plie squats
Move lower on your body and move on to warming up your legs. For this purpose, plie squats are suitable.
- Starting position: legs are in the second position, the distance between the heels is equal to the length of approximately one foot, heels turned inward, toes and knees pointing to the sides. The stomach is tightened, buttocks are clenched, the top of the head is “reaching” upwards, hands are resting on the waist.
- In this position, start lowering down into a squat until you can keep your heels on the floor.
- Nato se vrnite v začetni položaj.
- While performing the exercise, make sure that your knees are pointing along your toes, your tailbone is pointing downward, and your hip joint is “tucked”. Imagine that you are leaning your back against a wall and lowering yourself down in this position.
- Do the exercise slowly and keep your muscles toned, as if you were trying to press a very tight spring or struggling with the pressure on your shoulders. Throughout the exercise, it is important to overcome the invisible resistance.
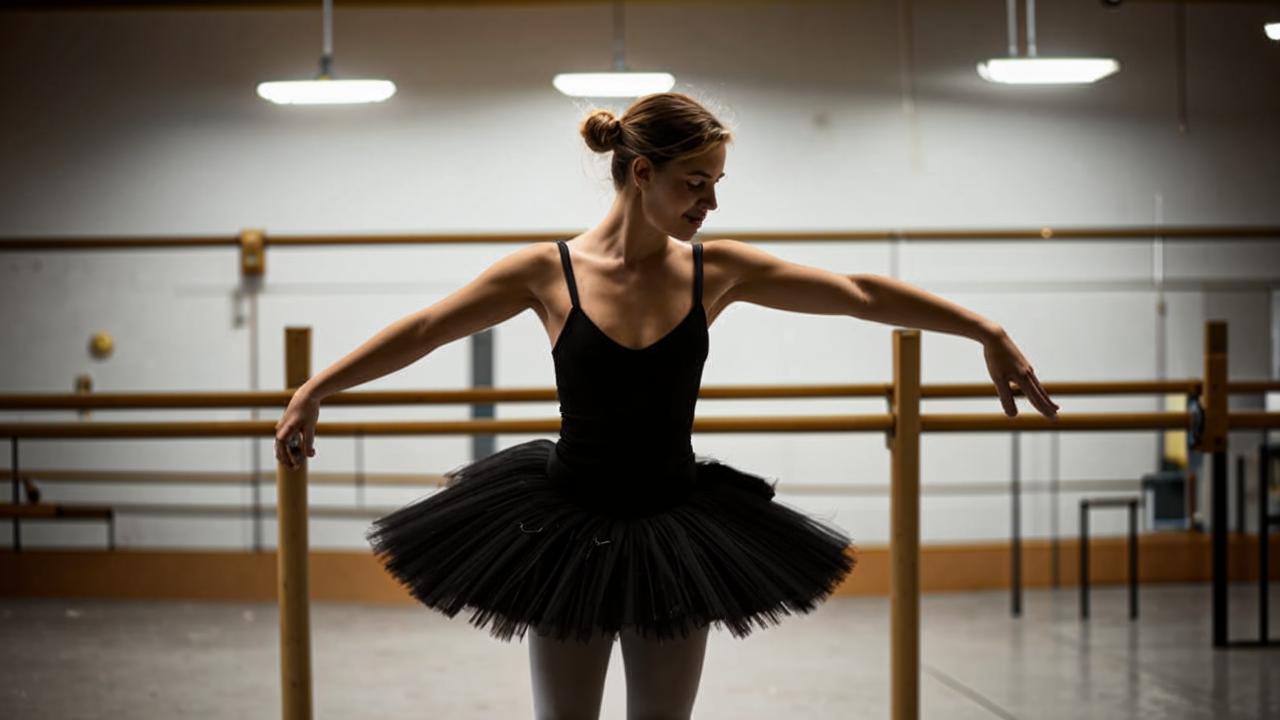
Plie squats with transition
The plie squat with transition is performed almost identically to the previous exercise.
- Starting position: legs stand in the second position, the distance between the heels is approximately the length of the foot, heels turned inward, toes and knees pointing to the sides. The stomach is tightened, the buttocks are clenched, the top of the head “stretches” upwards, the hands lie on the waist.
- The main difference of the exercise is the following: rising from a squat back up, you do it with the support of only one leg, and the second one is pulled up on the toe.
- Repeat this movement several times, changing legs.
- Then make your task a little more difficult by using your hands. To do this, stretch your arms out to the sides and move them depending on the leading leg: if the supporting leg is left, then the right hand you raise up, and the left hand you lower down, and vice versa. In this way, you will not only stretch your leg muscles, but you will also use your body and arms to work those parts of your body.
Relevé
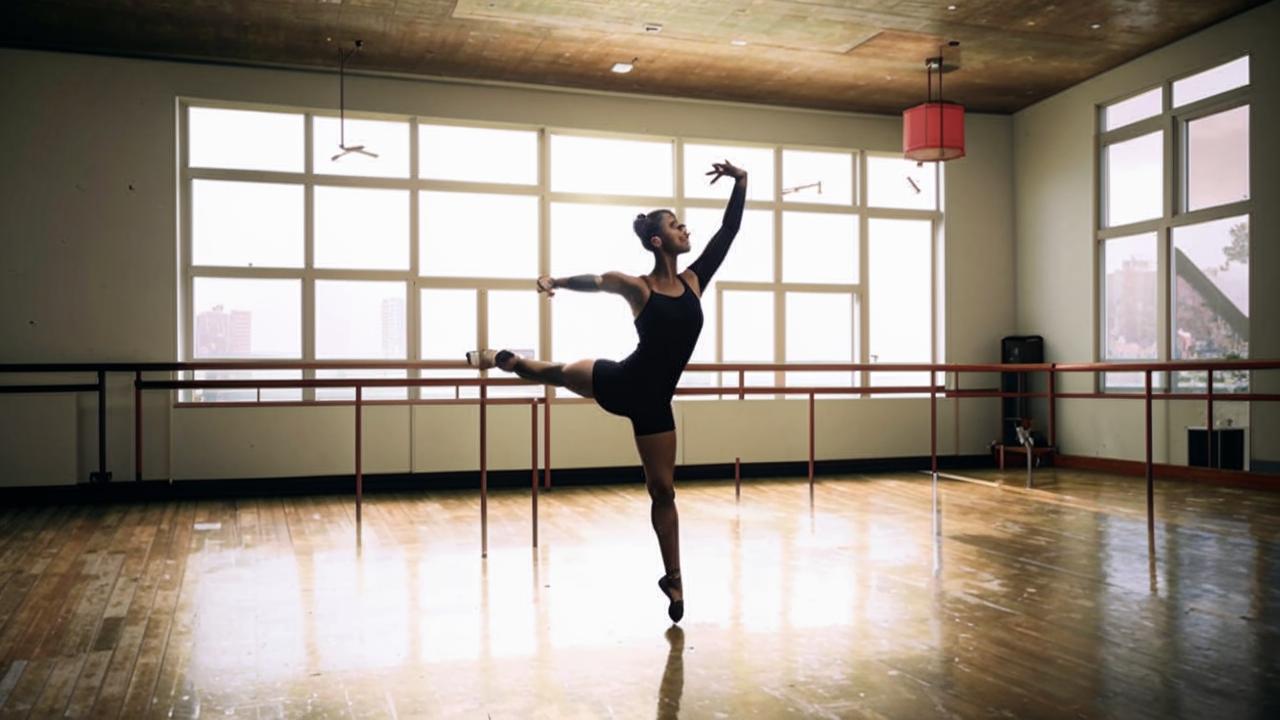
Relevé will help you stretch your legs and work the foot area better.
- Starting position: sixth leg position, feet together, heels and toes connected to each other, knees tucked in. The body is tense and taut like a guitar string, hands resting on the waist.
- In this position, begin to rise on your toes and fall back down. By the way, in ballet, this part of the foot is called “half-fingers”, because fully stand on the tips of the fingers ballerinas can only in pointe shoes.
- All actions in the exercise perform slowly and be sure to control the descent, so that it was smooth and soft. Put your feet as gently as possible, so that you do not hear how you contact the floor.
- Start the exercise with a slow pace and gradually accelerate. However, do not go to too active movements, everything should be moderate.
- If you find it easy to perform the exercise on two legs, you can make the task a little more difficult and try to perform the relevé on one leg.

Squats with torsion of the body
This exercise allows you to further engage your torso and cortical muscles, as well as improve spinal mobility. The basis is similar to the plie with transition, but the movement pattern is slightly modified.
- Starting position: feet are parallel to each other in the sixth position, heels turned inward, toes and knees pointing to the sides. The stomach is tightened, the buttocks are clenched, the top of the head “stretches” upward, hands rest on the waist.
- Now when squatting it is not necessary to keep the hip joint and tailbone in a flat position, here the movement is more like a classical one, when the hip joint is pulled back. But the rest of the details remain the same as in plie: knees point to the sides and do not go beyond the toes, the back is straight, the stomach is taut.
- After squatting start to rise back, but the body weight is transferred only to the left leg, the right leg is pulled to the toe. At this moment take the right arm to the left side and twist the body in the direction of this arm. Then return to the starting position and repeat the exercise, but with support on the other leg and twisting the body in the opposite direction. Watch the pace of the movements and do not hurry – first you need to understand the mechanics and algorithm of actions.
Opening the leg at the hip joint
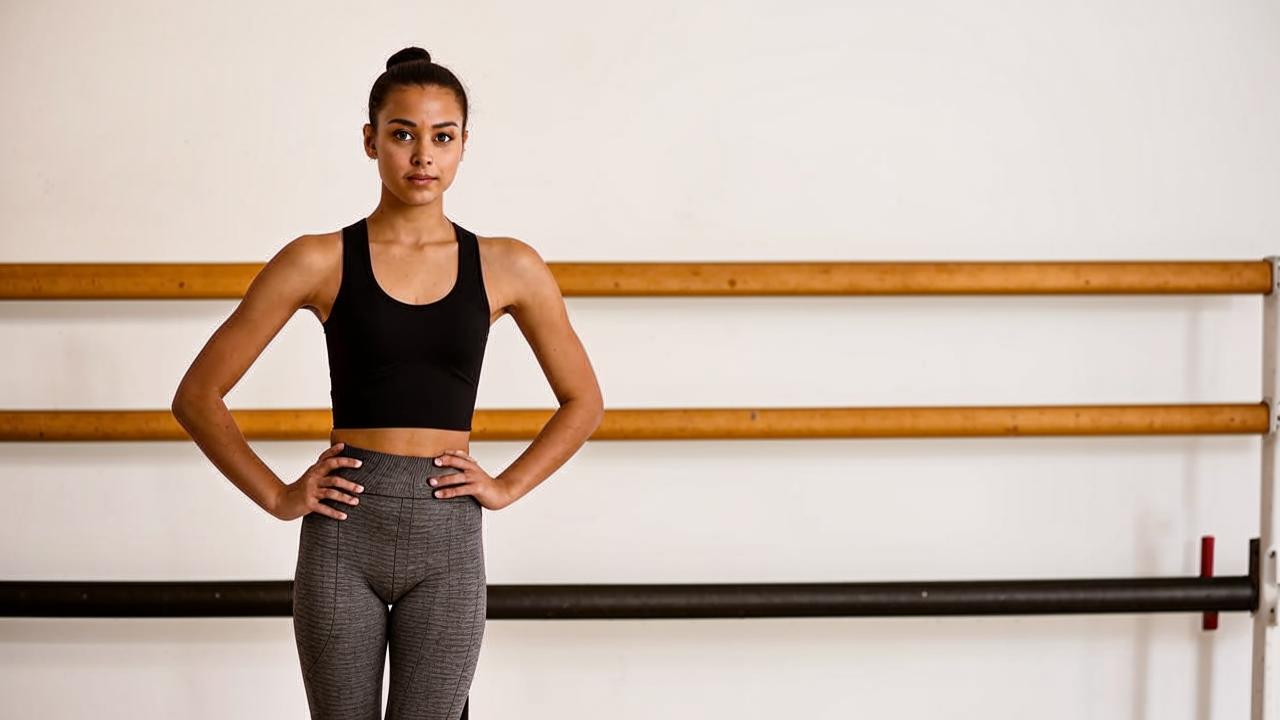
The final part of your morning complex is a complete workout of the hip joint. From the additional benefits of the exercise: developing a sense of balance, strengthening the back muscles and consolidating the work that has been done with the whole body.
- Starting position: legs are parallel to each other in the sixth position, the body is tucked in, hands resting on the waist.
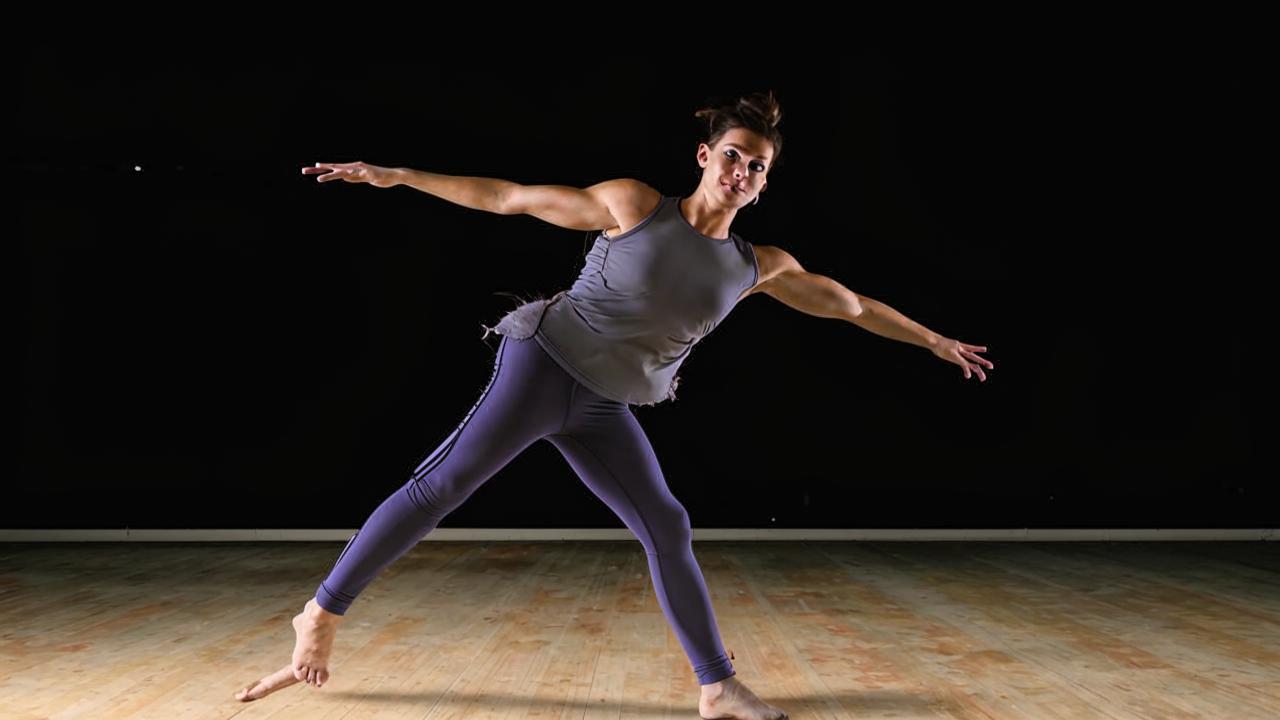
- Start lifting the right leg and bend it in the knee so that the toe touches the left leg. At this time, the knee of the right leg should be directed forward. The higher you can raise your leg, the better – but don’t try to overpower yourself, focus on how you feel.
- When you have reached the most comfortable height, make sure that the left leg is not relaxed and the knee is straightened. Otherwise, you will increase the load on the joints, and this is fraught with negative consequences.
- In this position, start taking the right knee to the side, but do not pull the foot away from the supporting leg. Pull back as far as possible and bring the knee back to a straight position.
- Watch your hips carefully so that your pelvic bones are pointing forward, not turning anywhere, and your torso is pointing upward. Then repeat the exercise for the other leg.
